If you’ve recently had dental implants placed, you might be asking yourself: “What’s the best way to keep them clean?” Whether you have a single implant or a full mouth restoration like All-on-4, good home care is what keeps them healthy for the long run.
Cleaning dental implants is a little different than cleaning natural teeth, but with the right tools and a consistent routine, it quickly becomes second nature.
In this guide, we’ll go over:
● How to clean dental implants after surgery
● The best way to care for All-on-4 dental implants at home Which tools make cleaning easier (like a Waterpik)
● Long-term tips for protecting your implants
Cleaning Dental Implants Right After Surgery
The first two weeks after surgery are all about healing. During this stage:
● Gently brush only the outside of your new teeth, staying away from the gumline. Rinse with warm salt water several times daily, start light and build up as healing progresses.
● Avoid flossing or aggressive brushing directly on your gum tissue until cleared by your doctor.

“During the first weeks, light care helps your gums recover and your implants integrate smoothly.” — Dr. Holcomb
Using a Waterpik for Dental Implant Cleaning
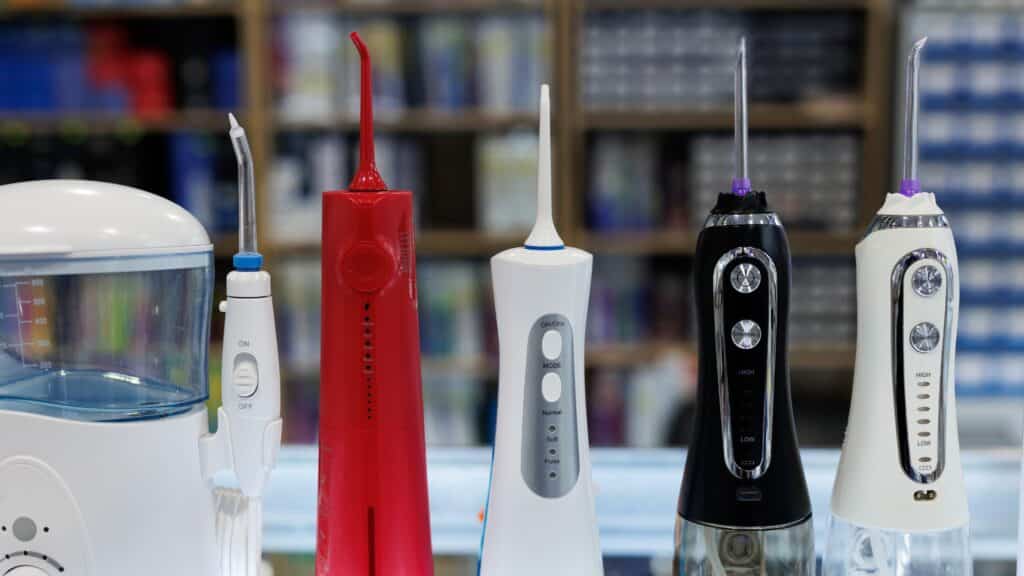
Once your gums have started to heal, a Waterpik (water flosser) becomes the most effective way to keep implants clean. Think of it as a tiny pressure washer that flushes away bacteria and food particles your toothbrush can’t reach.
● Start on low (2–3 setting) until you get used to it.
● Use it twice a day — make it as routine as brushing.
● Angled tip: Cleans along the outside of the bridge.
● Implant denture tip (hook-shaped): Gets underneath and inside for a deeper clean.

“Daily Waterpik use is an easy way to protect your investment and keep your implants in good shape.” — Dr. Holcomb
Cleaning Your Final Zirconia Bridge
Around three months post-op, you’ll switch from your temporary teeth to your final zirconia bridge. Patients usually notice two things right away:
● Thanks to its smooth finish, your final zirconia bridge is not prone to staining and easier to care for.
● With a tighter fit against the gums, your prosthetic traps less food and stays cleaner.
Adding a Diluted Rinse for Extra Protection
To keep your gums and implants healthy over time, your doctor may recommend a diluted bleach rinse.
● Mix 2 teaspoons of unscented bleach with 16 oz of water.
● Use your Waterpik to flush the solution underneath the bridge.
● Follow up by running clean water through the Waterpik to clear out any residue.

“A light disinfecting rinse every couple of weeks can make a big difference in preventing bacteria buildup and protecting your implants.” — Dr. Holcomb
Portable Options for Travelers
If you travel often, portable Waterpiks can help you stay on track. Battery-powered models are compact enough for a bag, purse, or even a car console. Waterpik also offers a Mini Ion, which is small and travel-friendly but still powerful enough for effective cleaning.
Long-Term Implant Care
The recipe for success is simple:
● Brush daily.
● Use your Waterpik twice a day.
● Follow your doctor’s guidance.
● Keep up with regular maintenance visits.
At ATL Dental Implants in Atlanta, GA, our goal is to help you keep your implants clean, healthy, and lasting as long as possible.


